
DIY Kitchen Cabinets
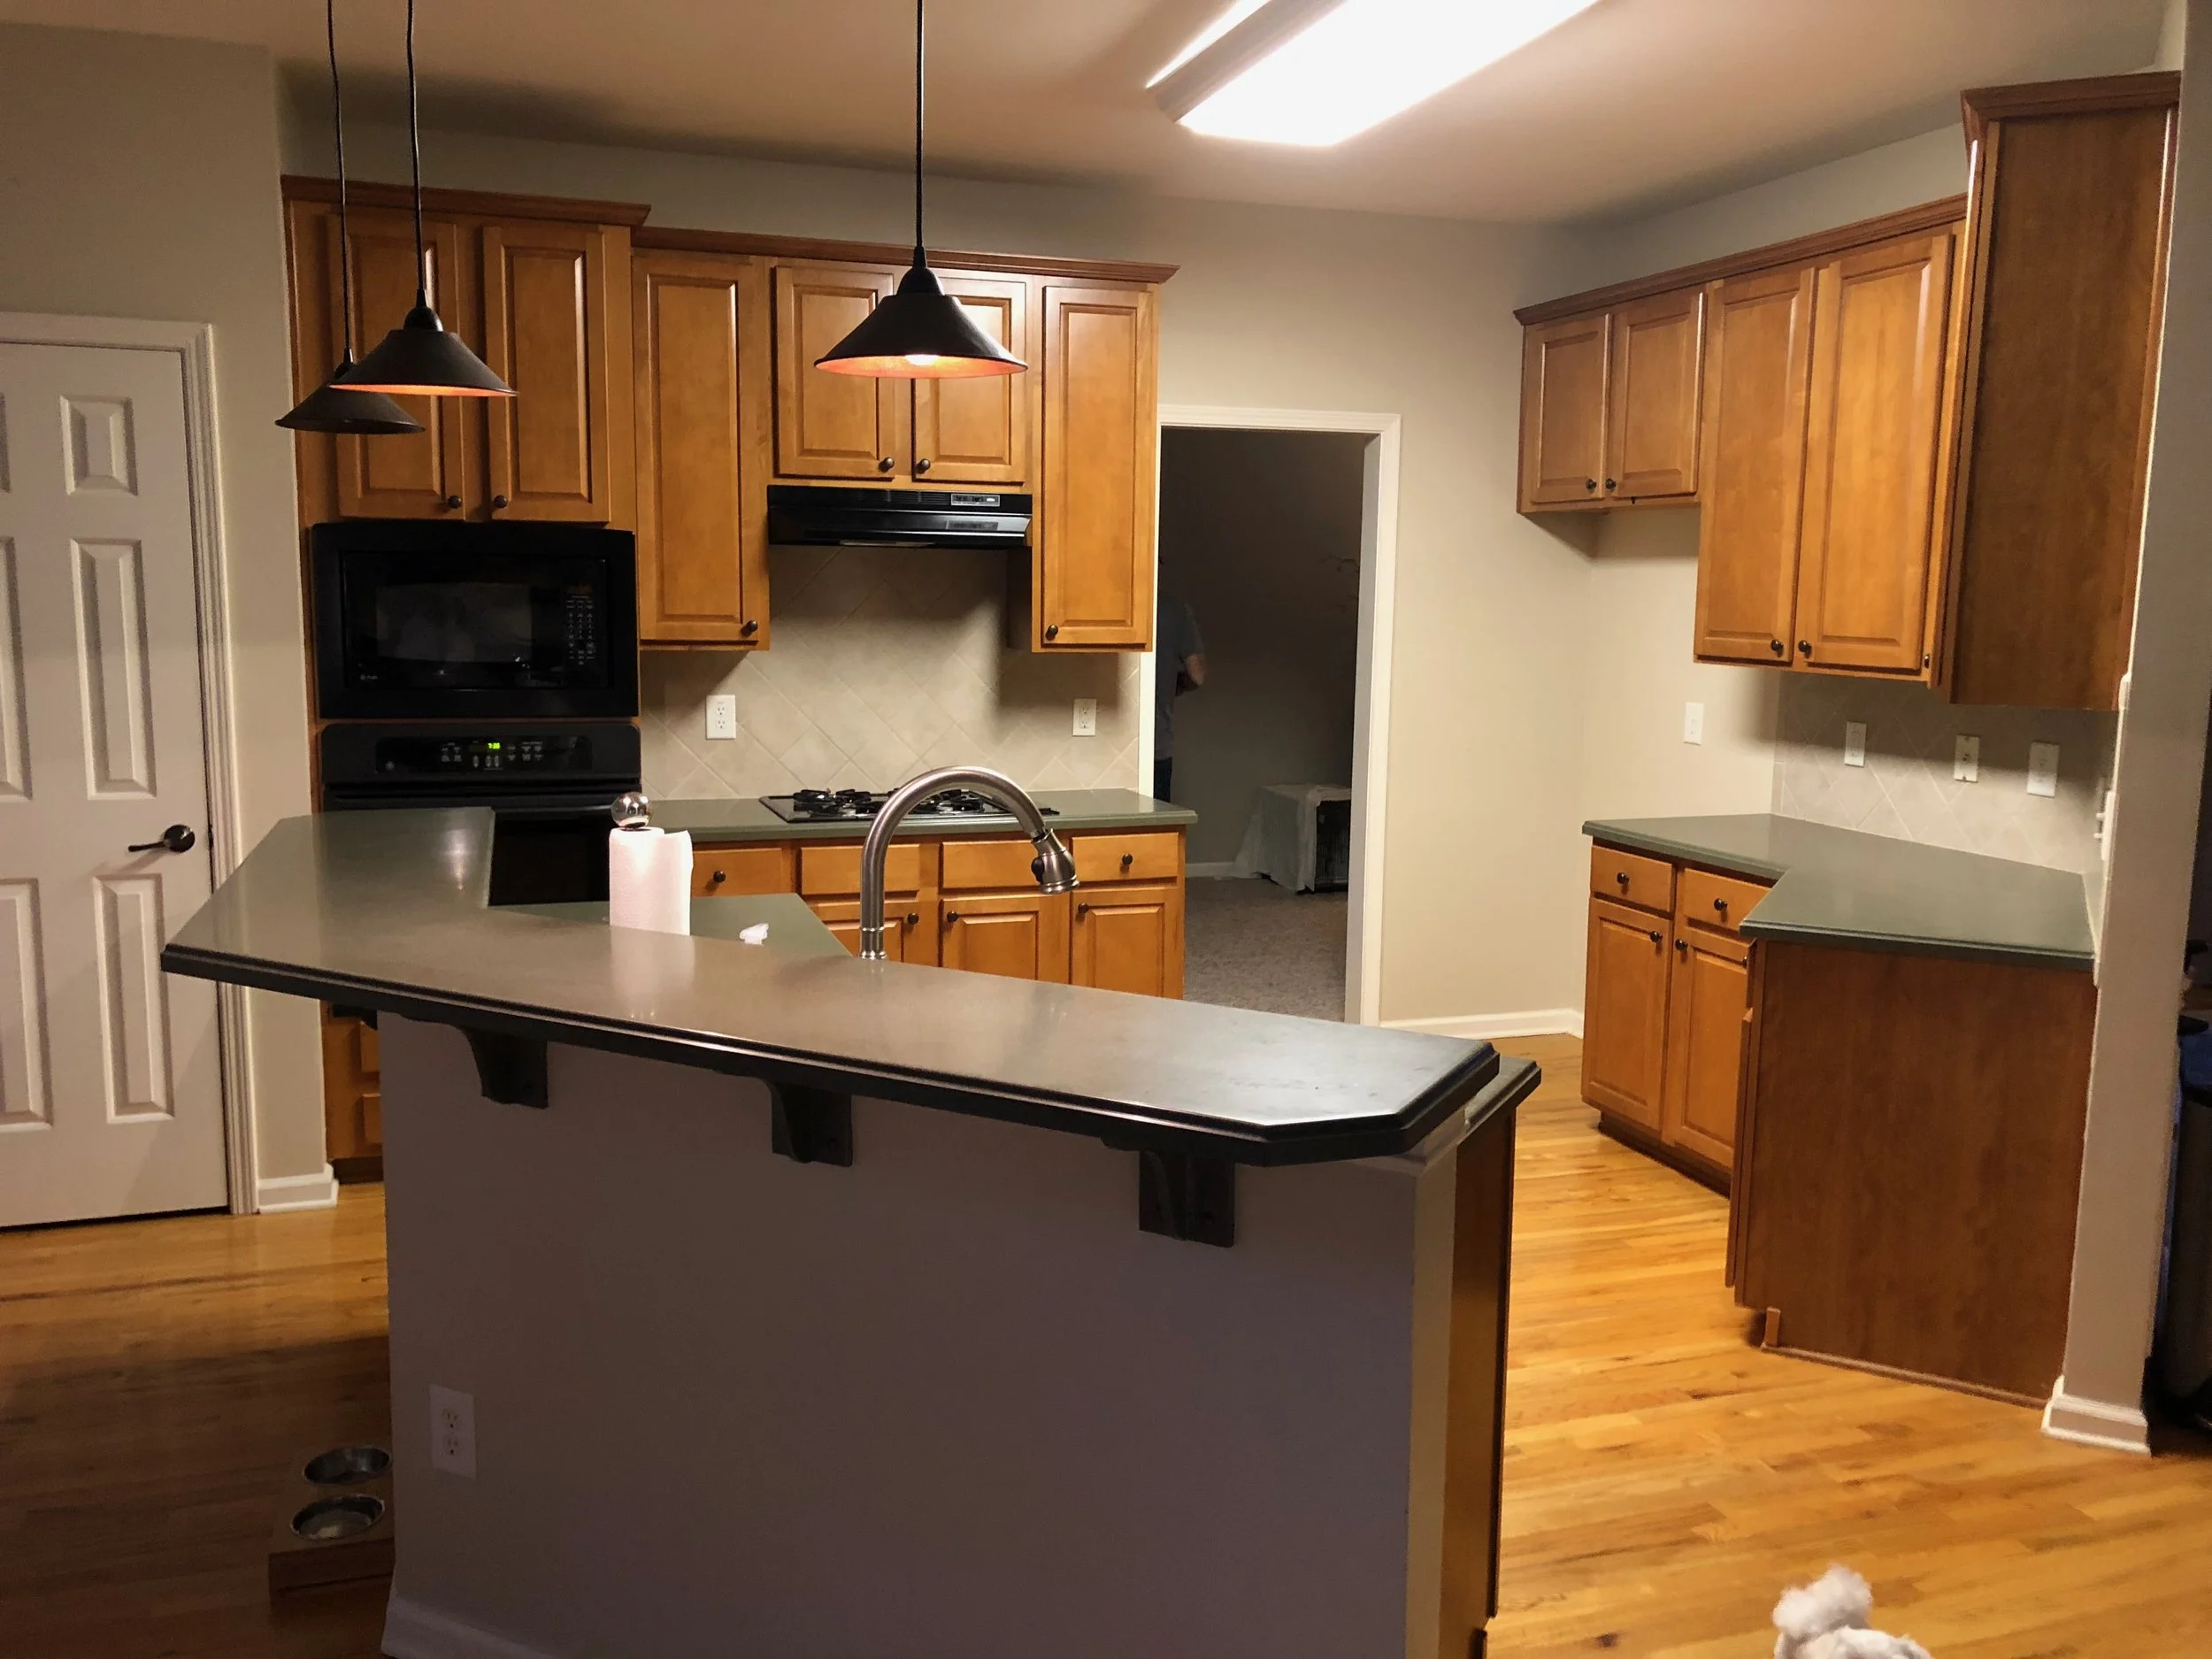
When we moved into our house 12 years ago, we knew the kitchen would need updating. We hired a contractor to build the island and replace the countertop and backsplash a few years ago. I decided to do my research and paint our cabinets myself. Like my dad, I like for things to be done the right way.
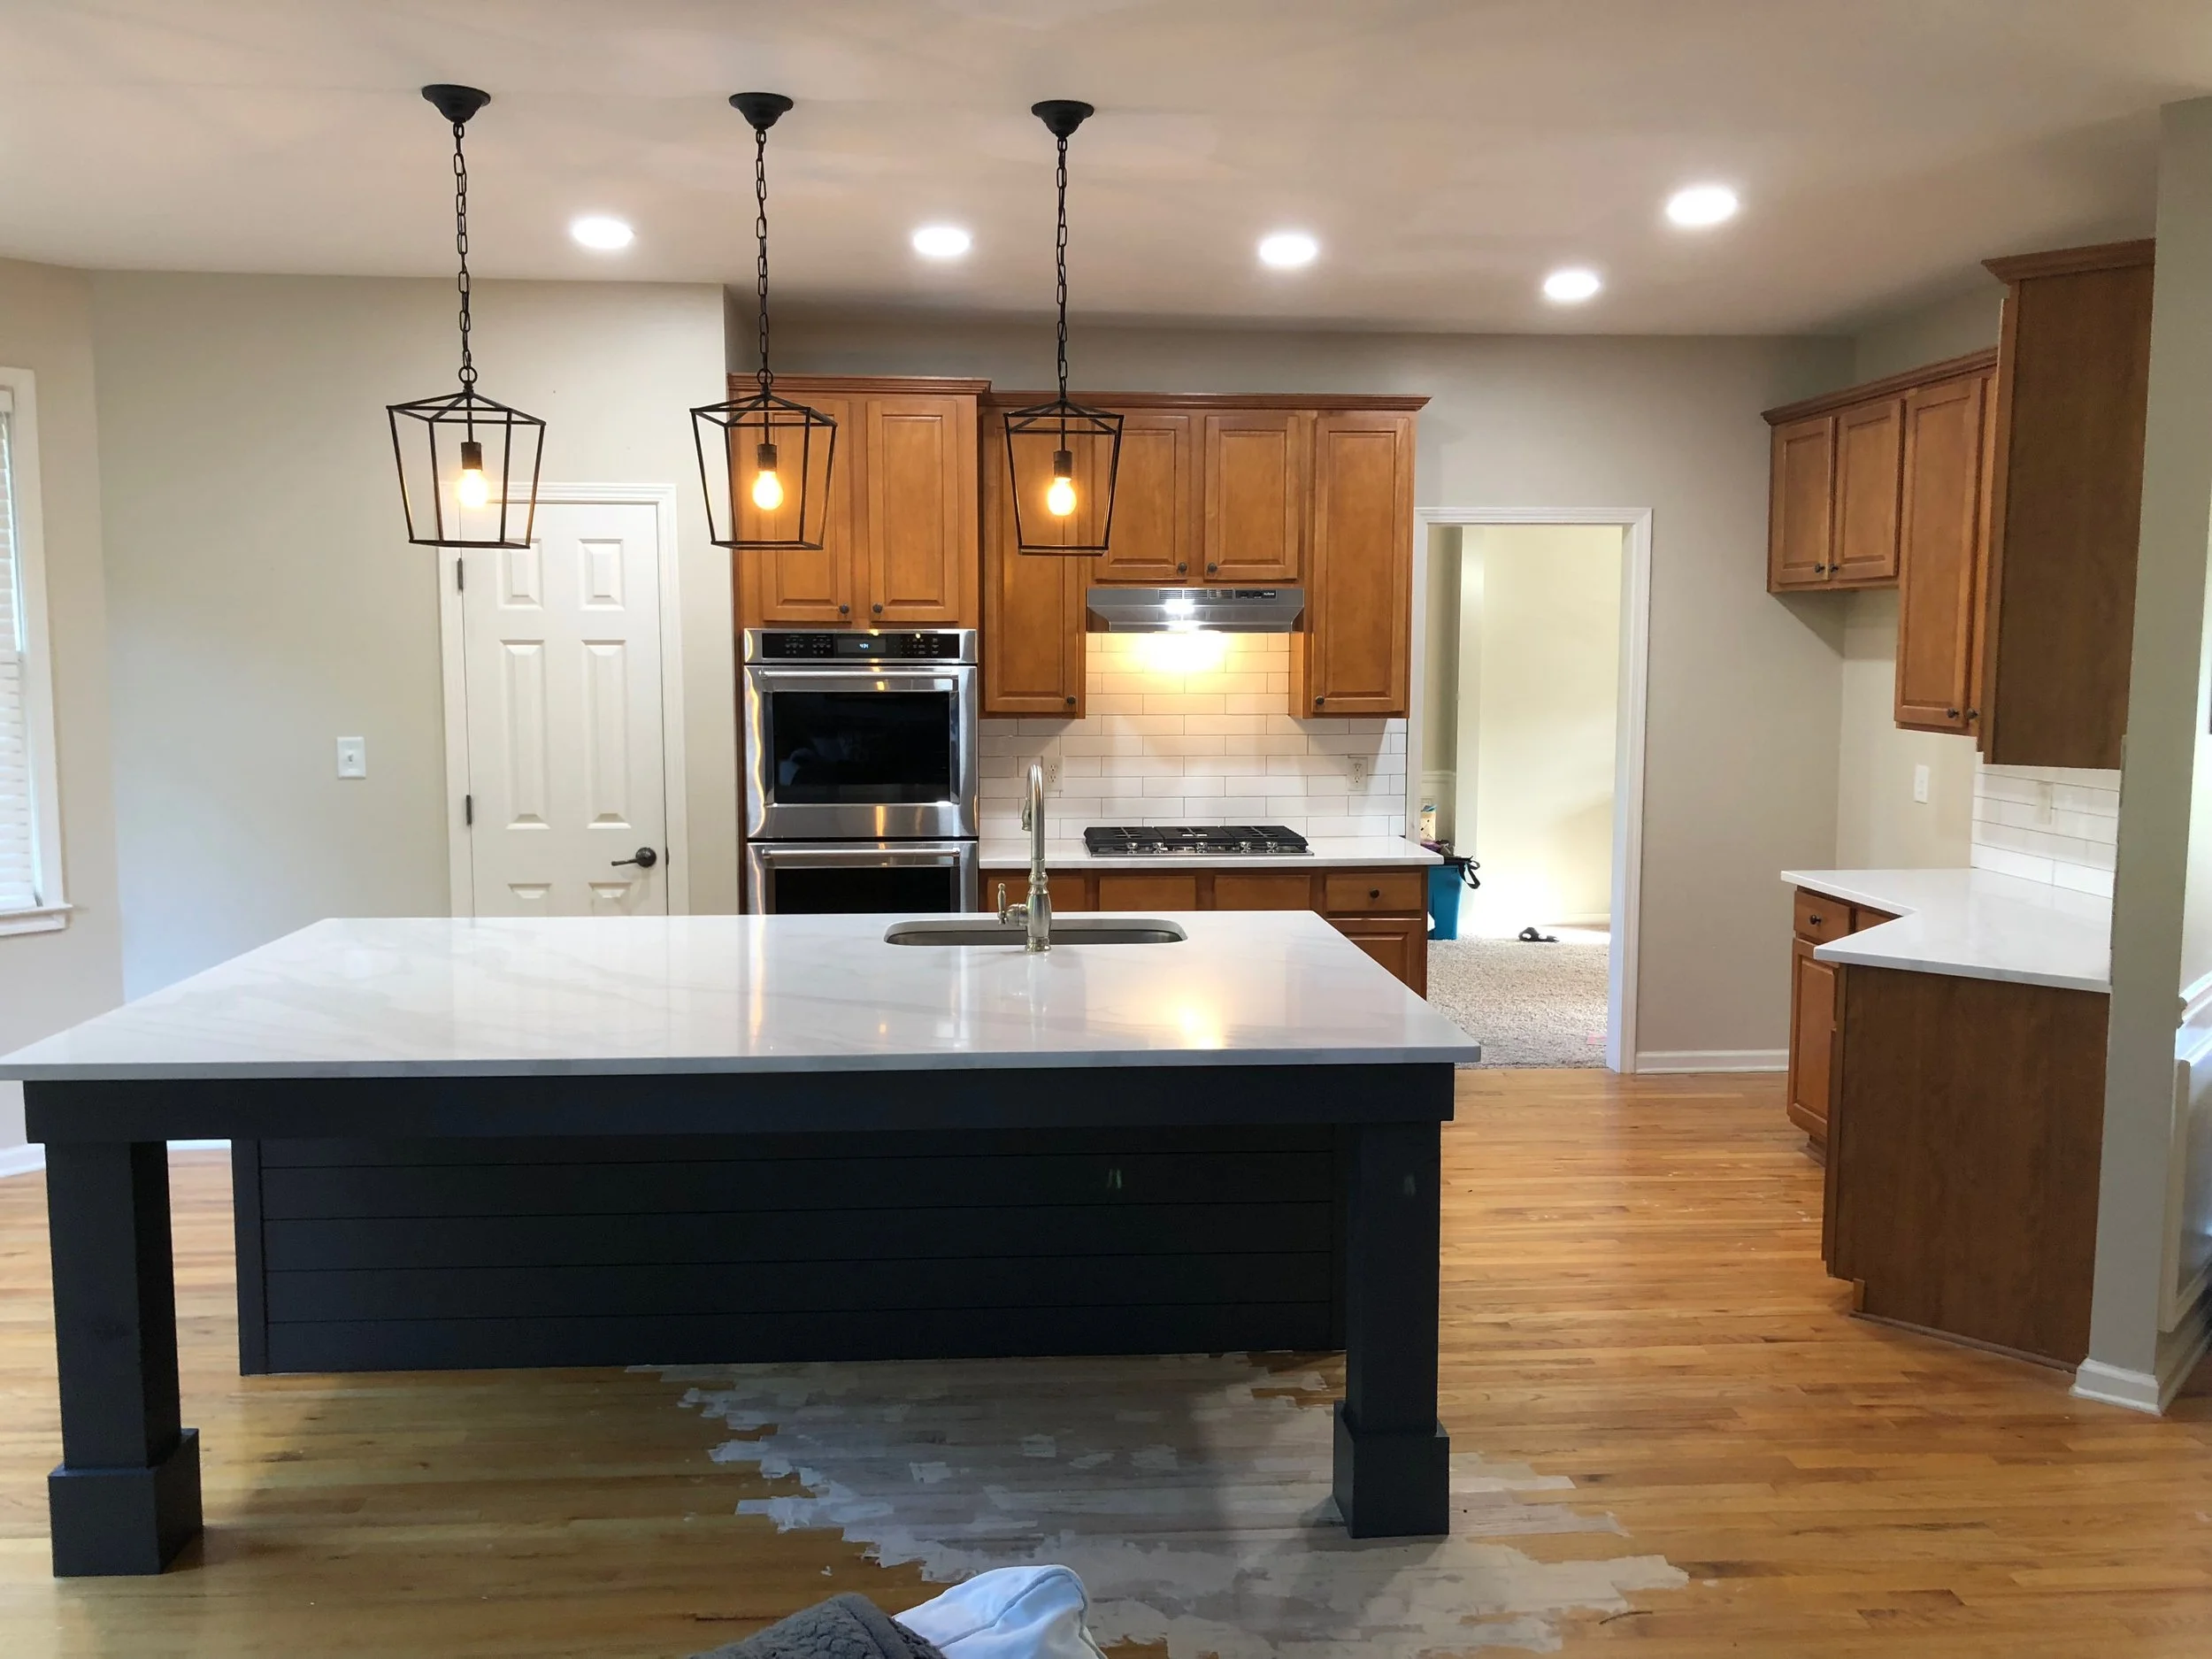
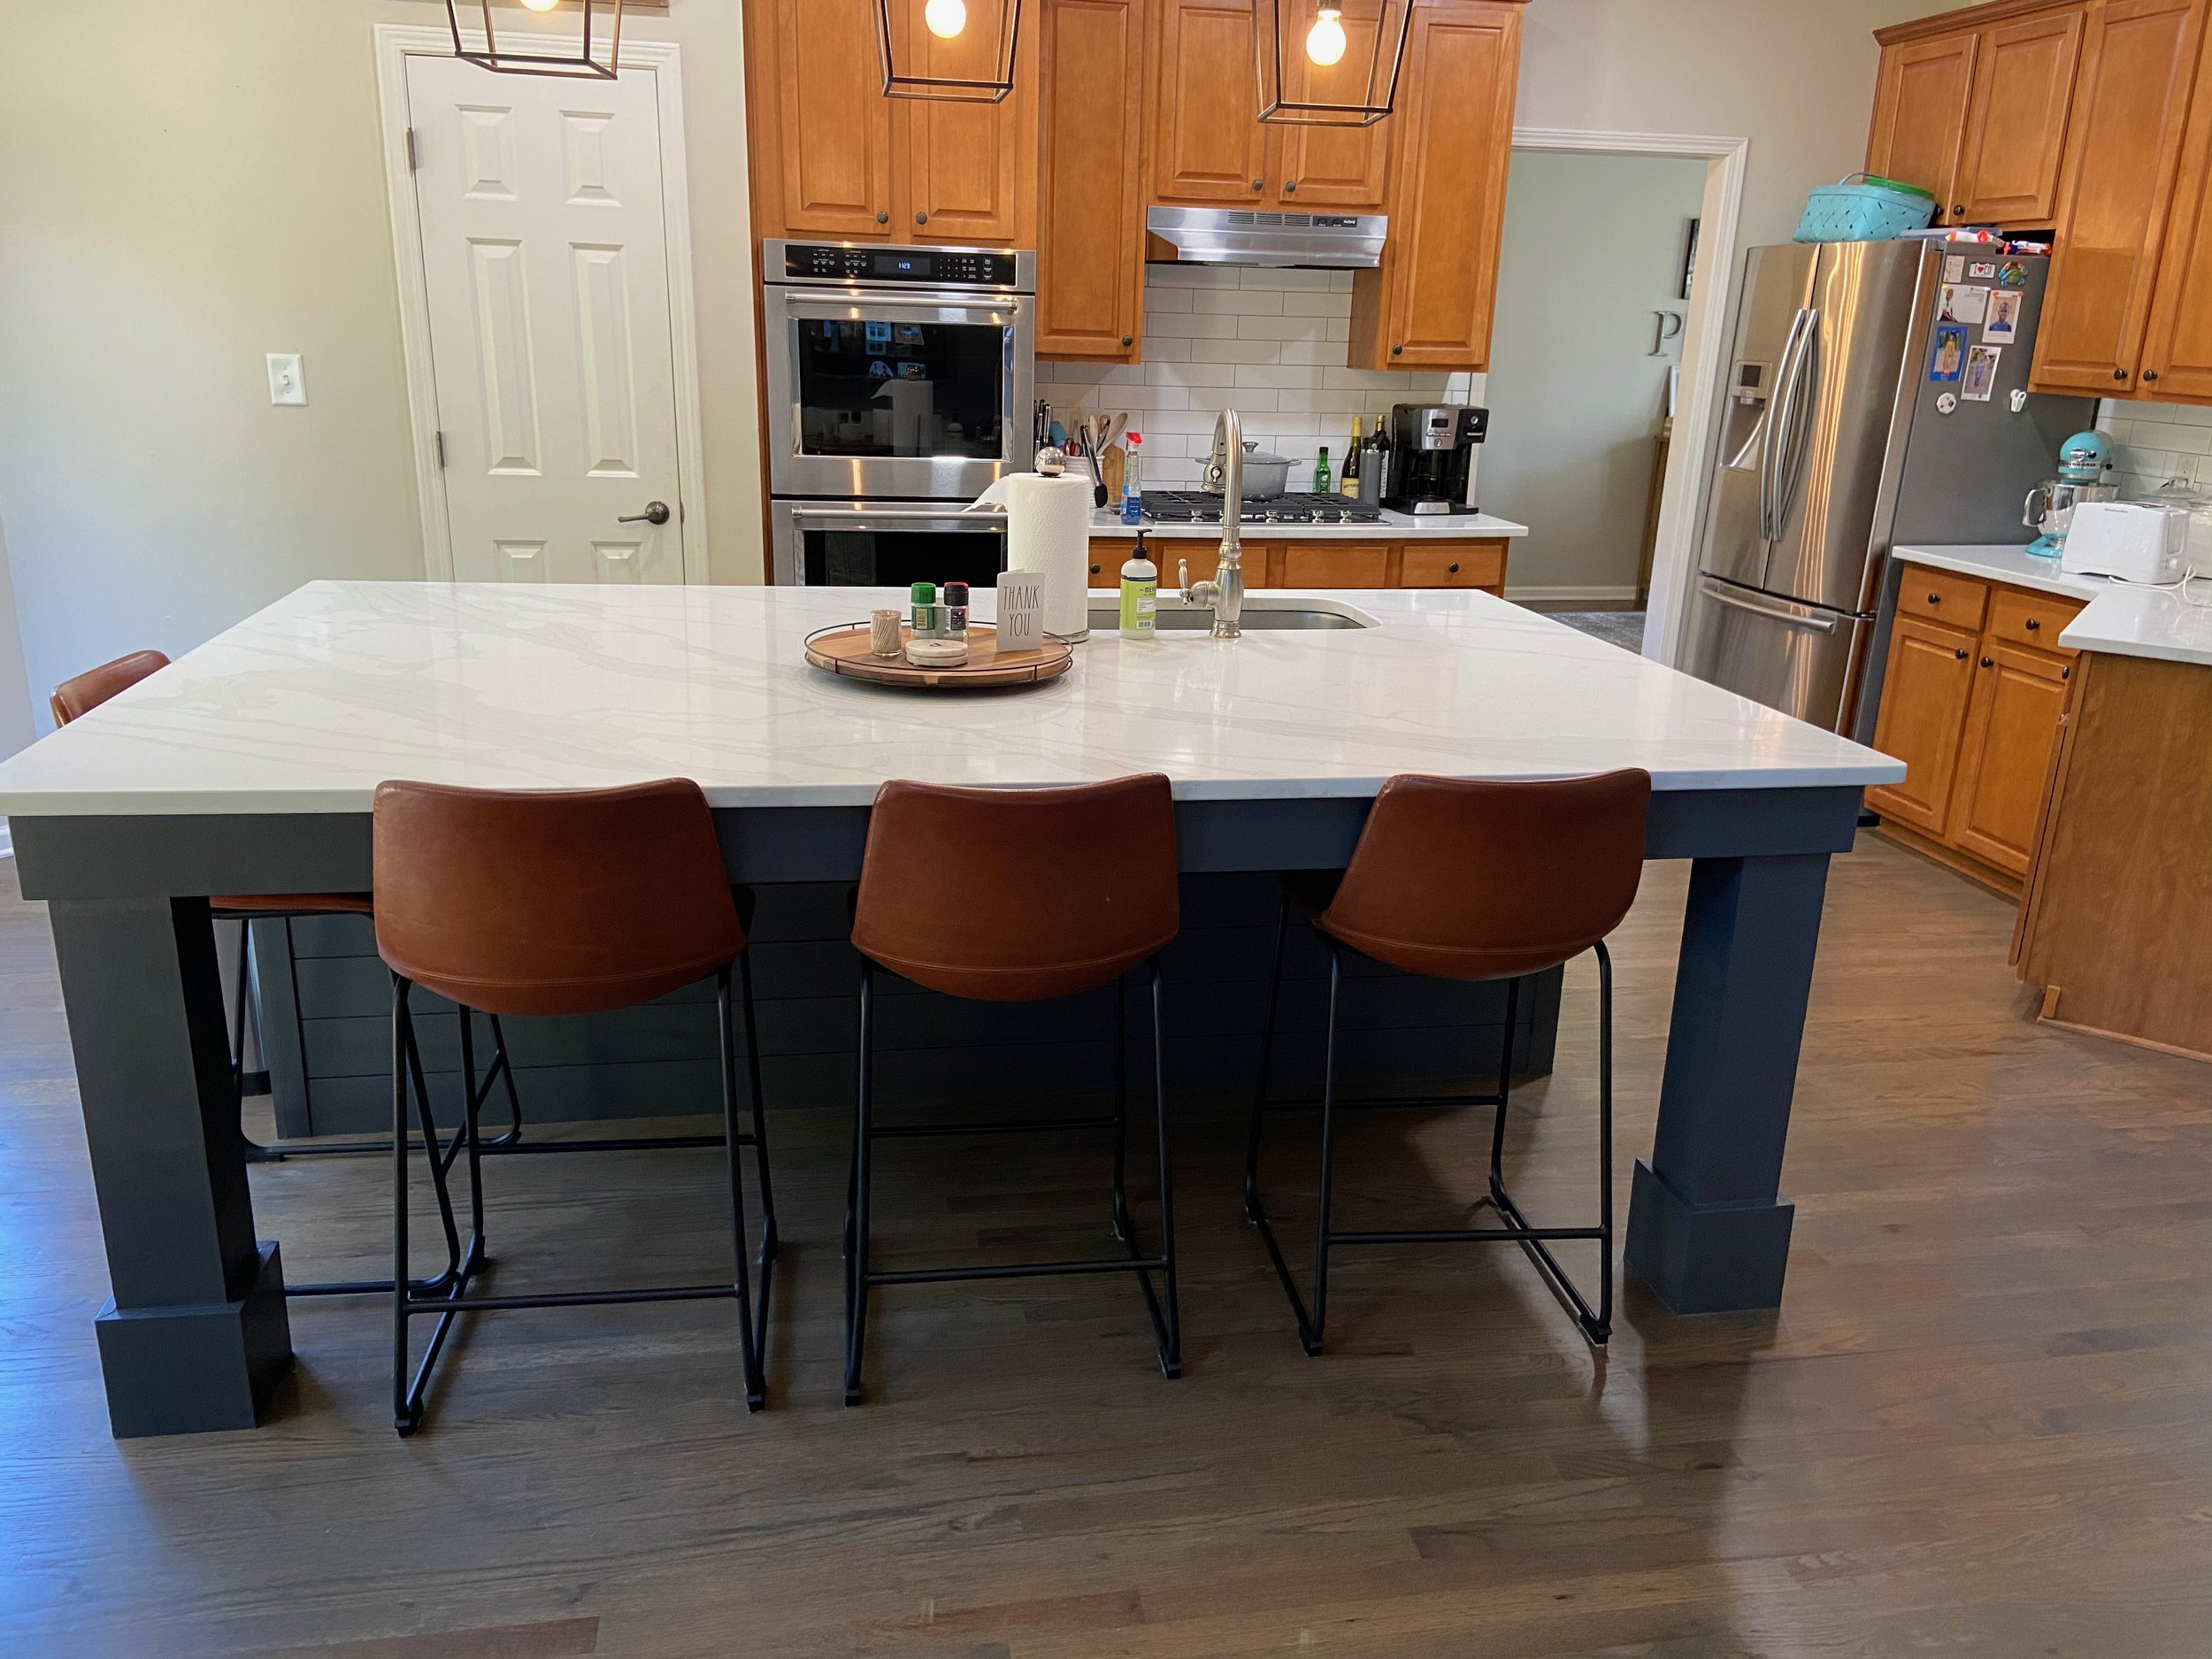
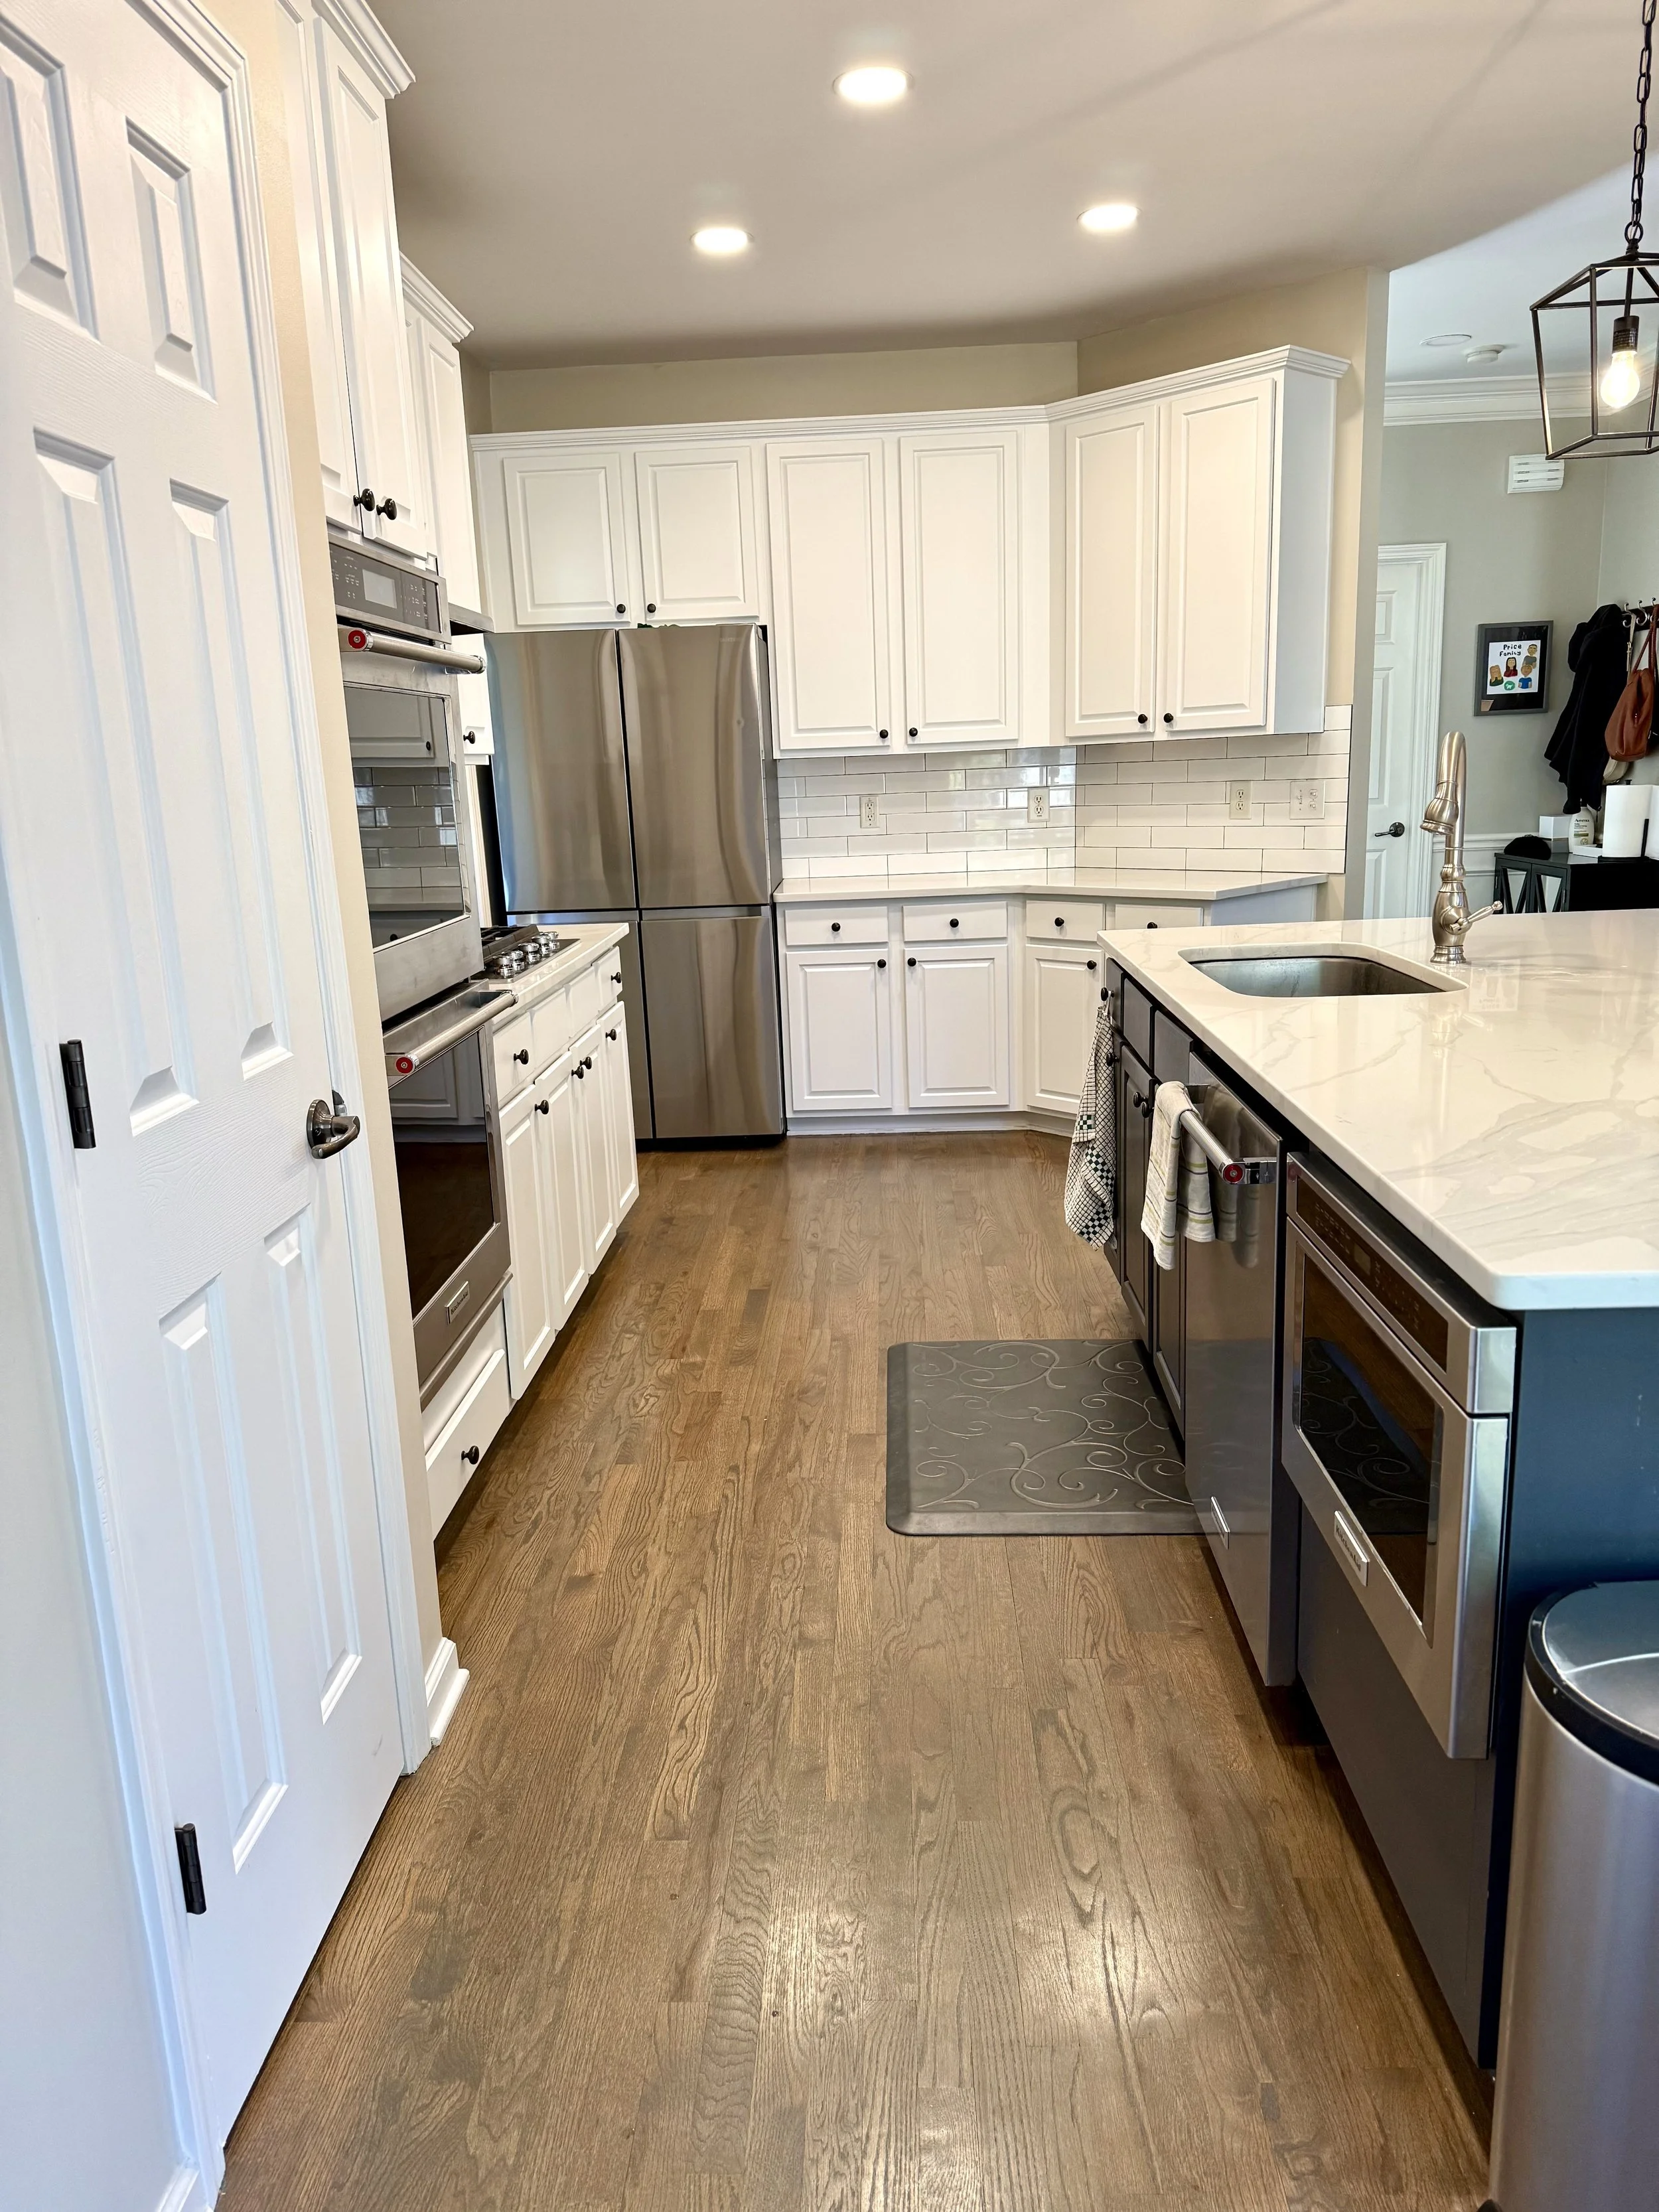
Here you see the full renovation before and after. Click the right image to scroll. I love how the kitchen feels more open and inviting.


After many youtube videos and blogs, I felt informed and ready. I’ve had many questions from friends and family about the process and supplies I used, so I decided to document it here for those wanting to tackle their cabinets. If you are considering painting your cabinets, I’m cheering you on! With time and patience, you can do it!
First step is the prep. This is the least enjoyable part of the process. I removed all doors and drawers. Then, I taped the areas needing protecting.
Second, I degreased all surfaces. This is important to remove all oil and grease. I used Krud Kutter to degrease my surfaces. I sprayed, let sit for a minute, then wiped down with a paper towel.
Now the messy part….sanding. I sanded all of the doors and drawers inside my garage. I didn’t want the dust inside my house. I started with sand paper and quickly realized I didn’t want to be sanding for the next ten years by hand. I upgraded to an power sander. Ryobi fit the budget and included a dust collector bag. This was helpful to collect the dust when I had to sand the cabinet frames inside the house. The vital thing about sanding is that you want to remove the shiny top coat of polyurethane that seals in the stain. I didn’t have to sand the stain off, just the clear coat. This is what helps the primer adhere to the wood.
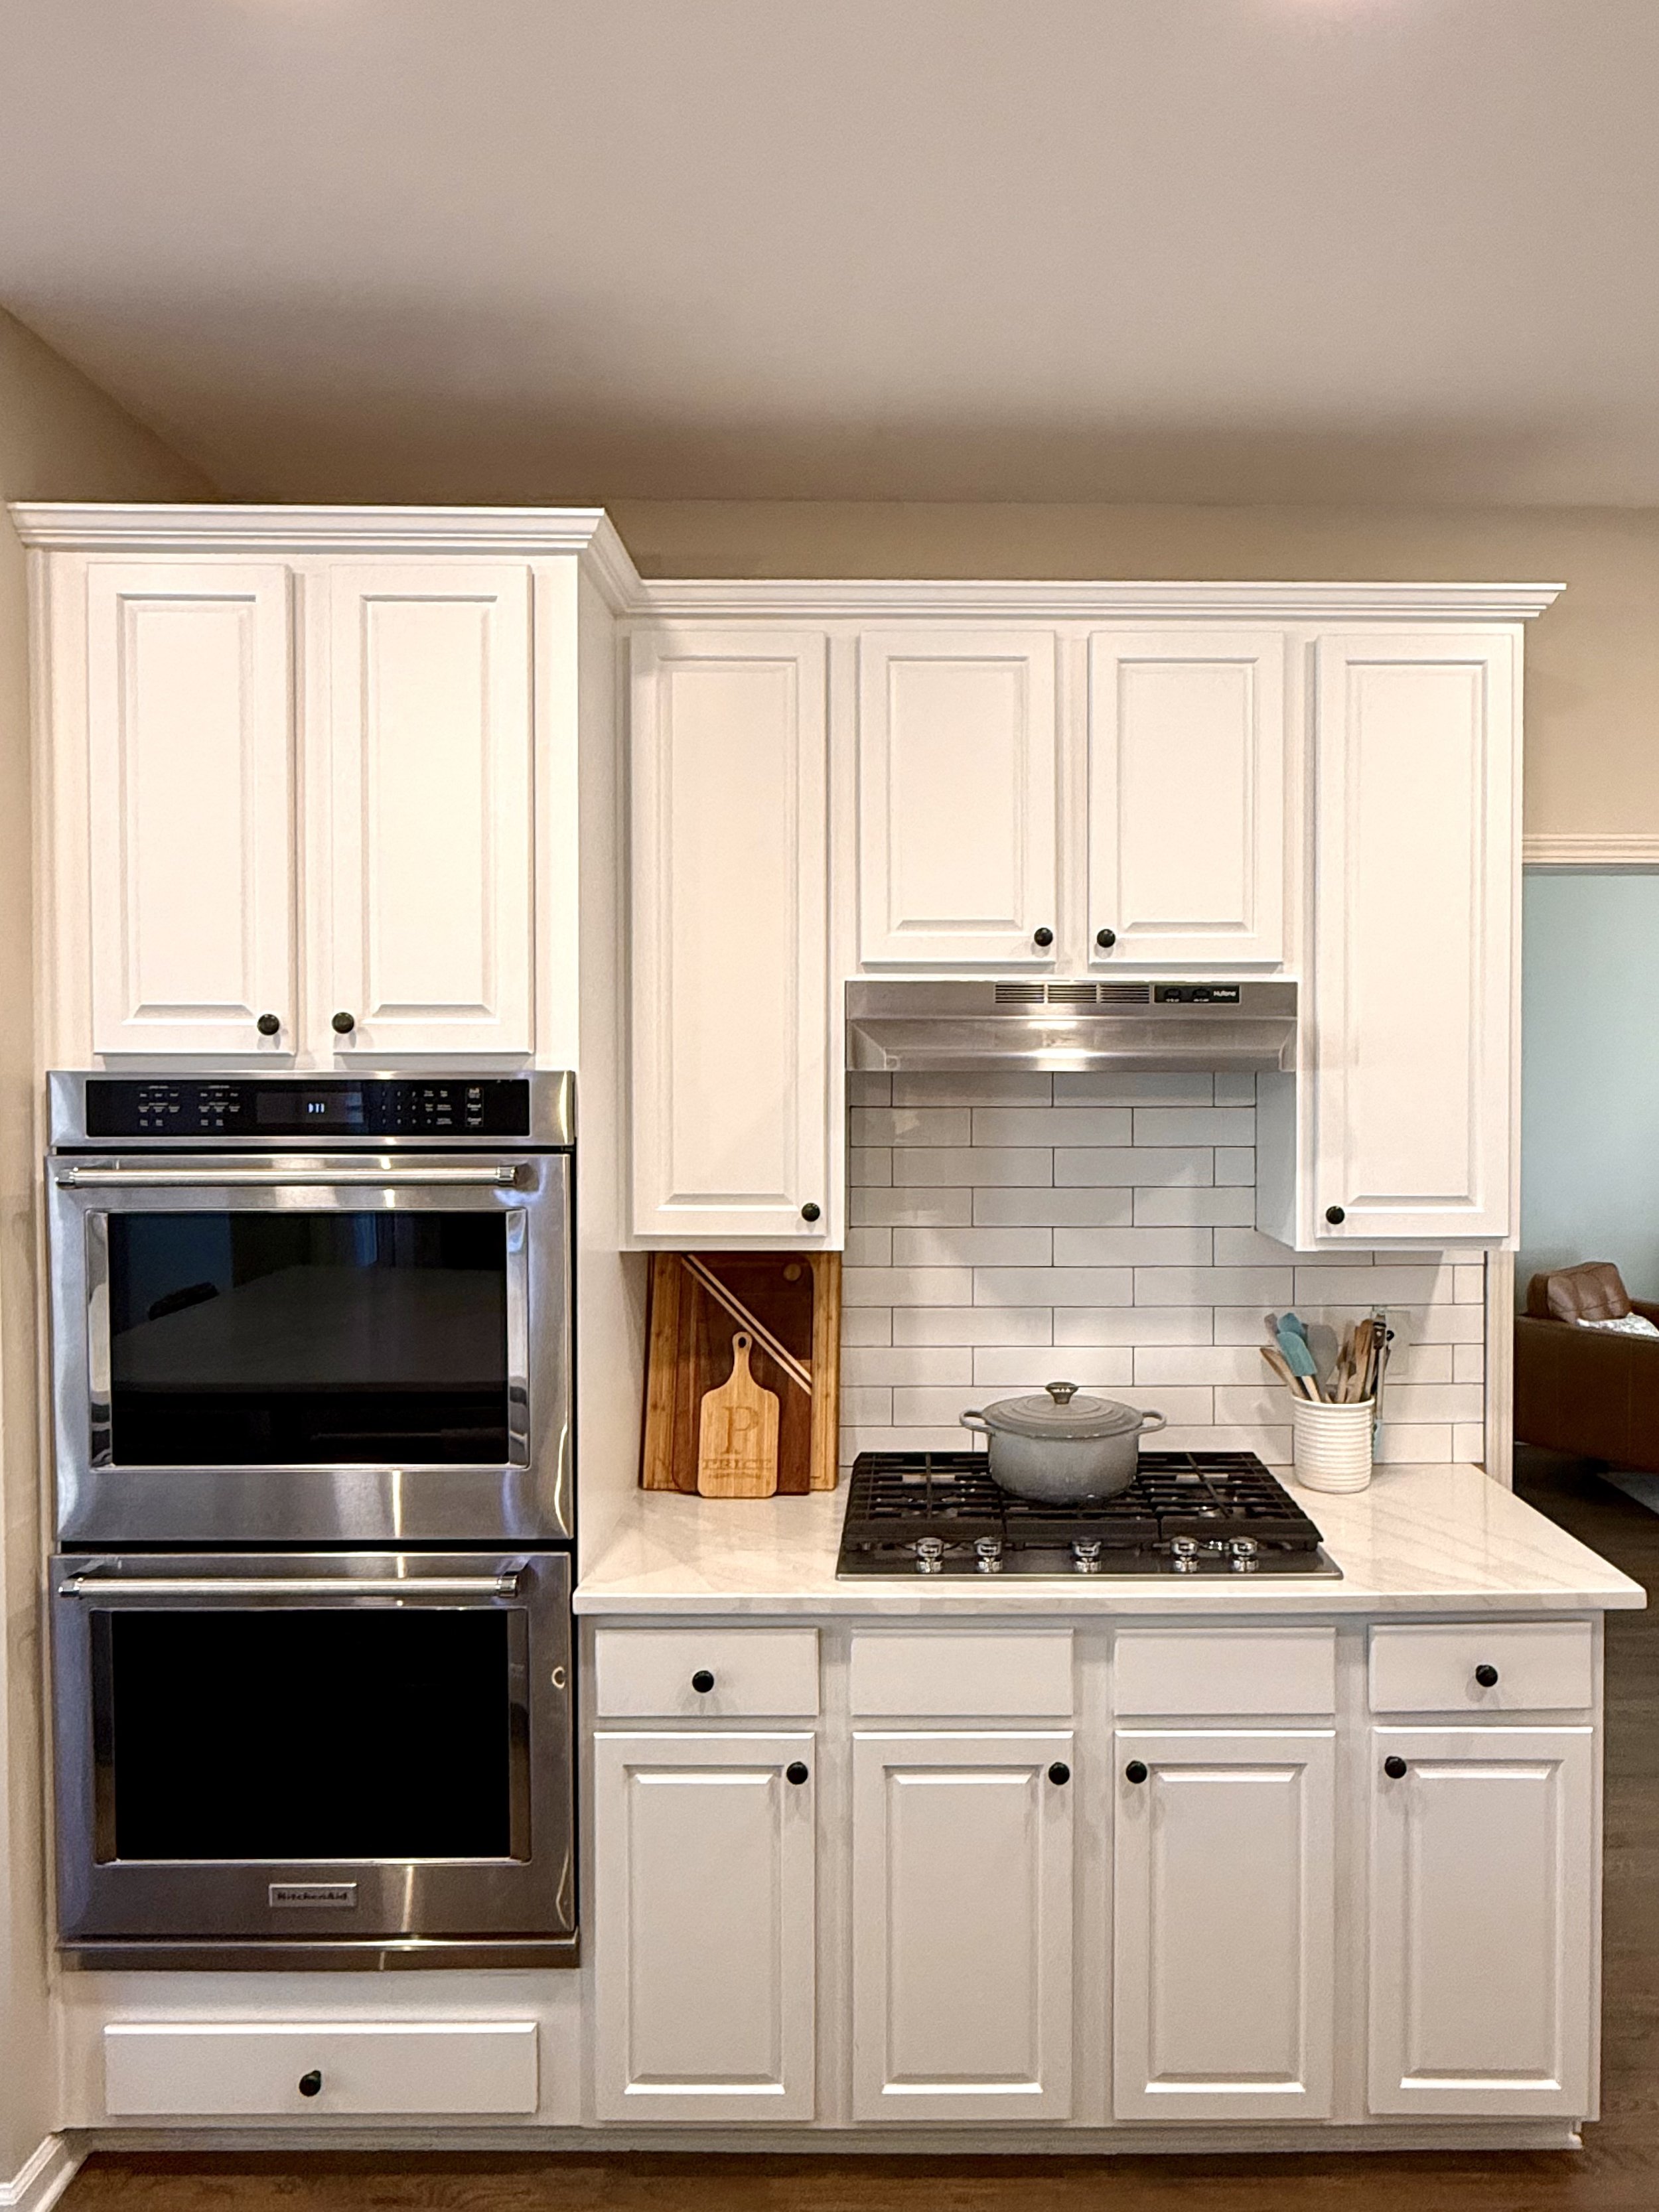
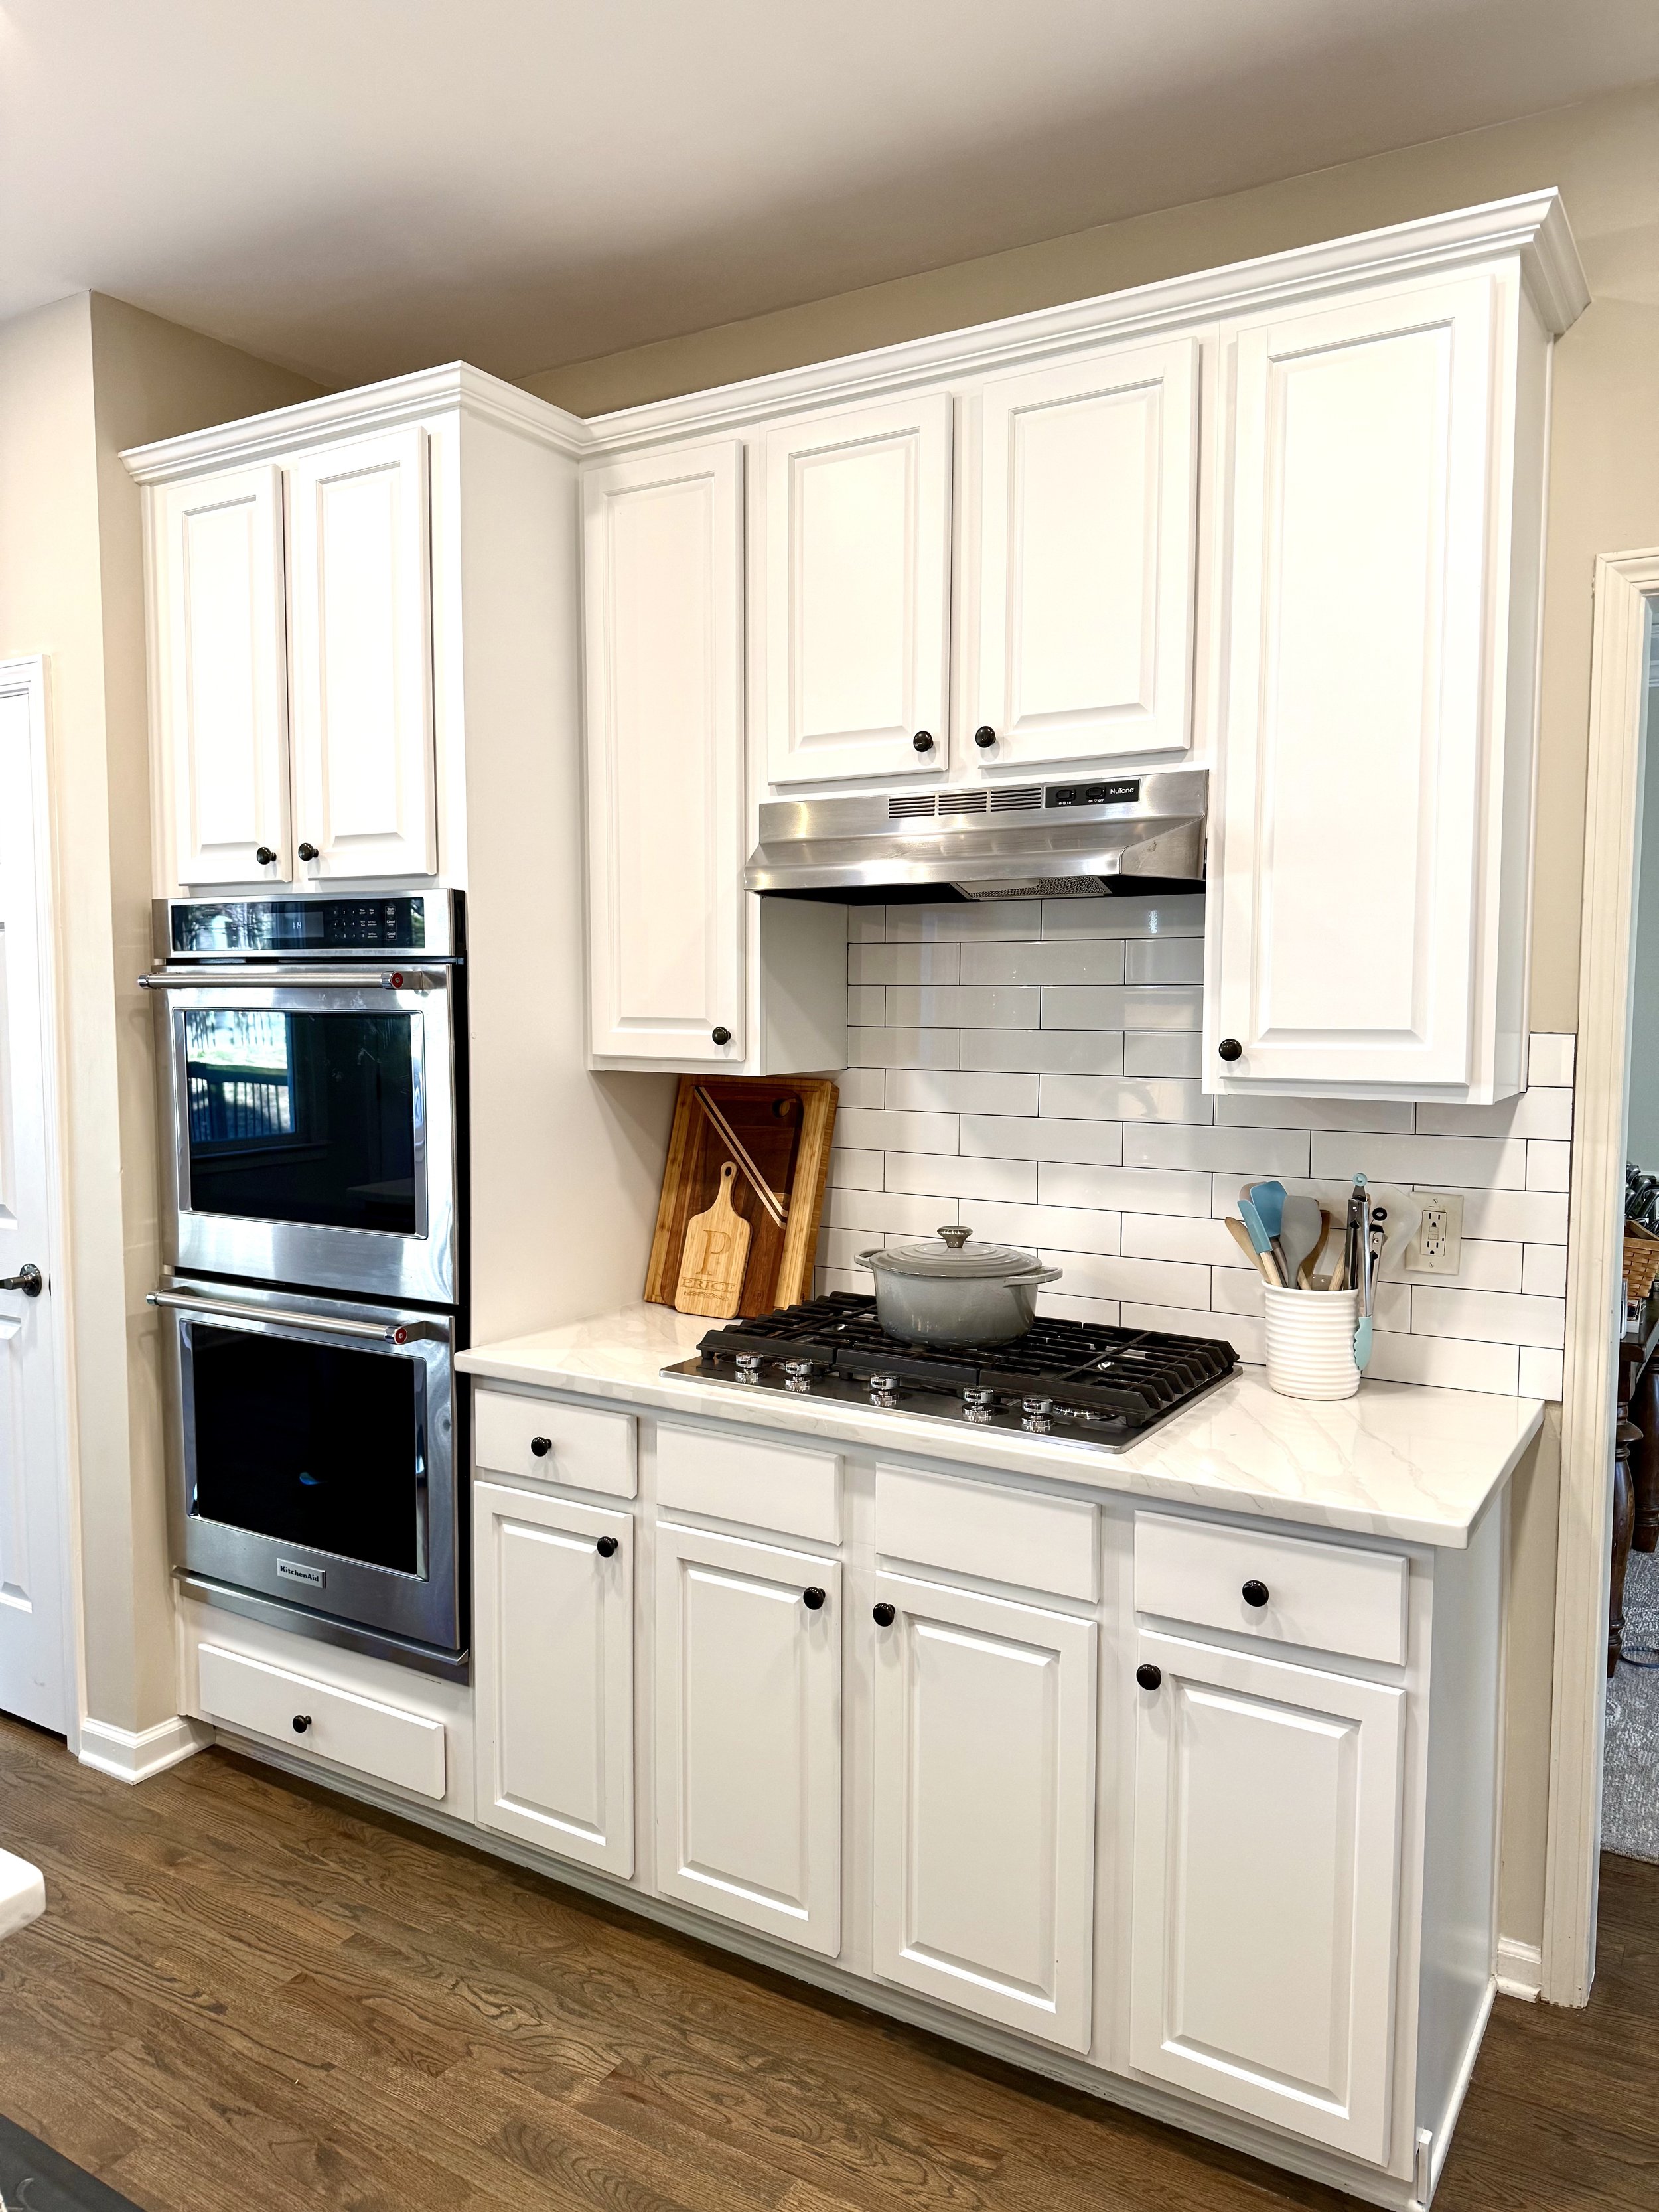
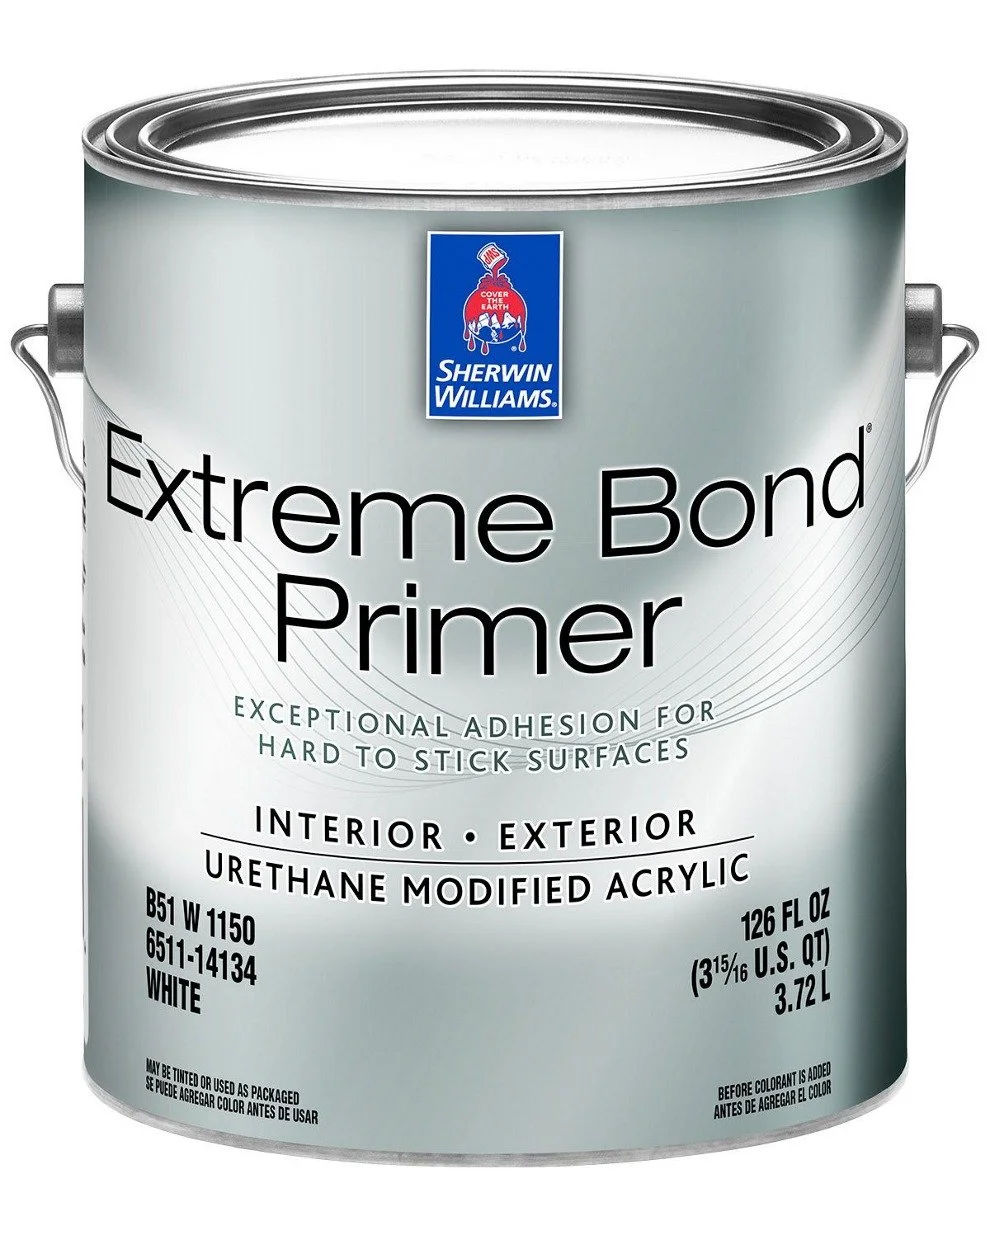
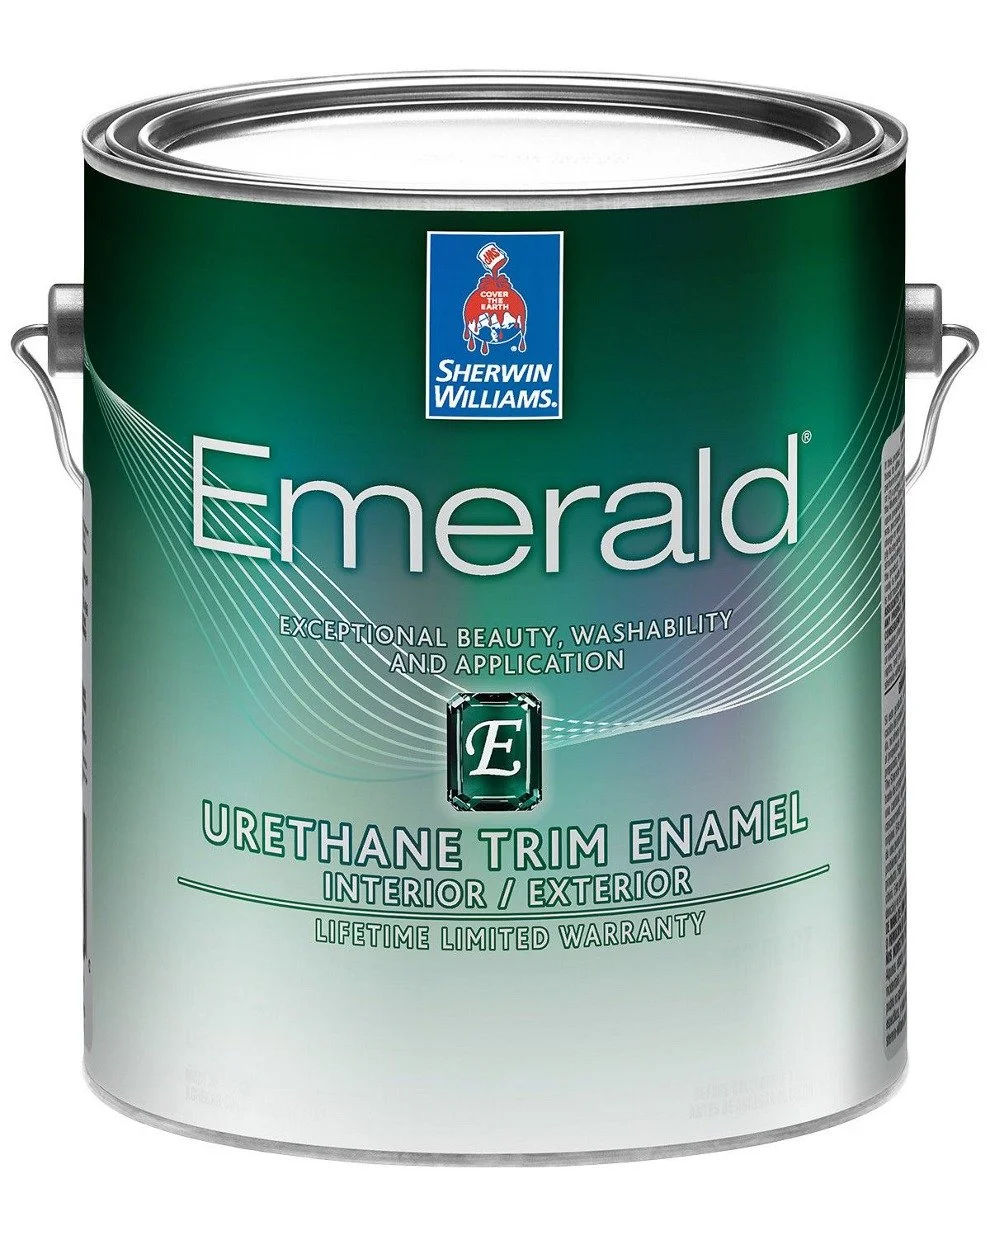
Once you’ve sanded all surfaces it’s time to prime! I purchase my primer and paint from Sherwin Williams. I did so much research on the best paint to use, and the paint I choose was a self leveling paint, meaning the paint doesn’t drip if applied correctly. The island color is Asphalt Gray. The cabinet color is Pure White. I used the same brush and roller for both the primer and paint. The foam roller worked best because it applied the paint in a thin coat. The other fabric rollers left the paint too goopy. I learned two coats of primer and two coats of paint worked best.
Once everything was dry, it was time to assemble the kitchen! I did a quick soaking wash for my hardware and was so happy to put it all back together again. The kitchen is not the space you want out of order for long!
I love the result. My kitchen feels so much cleaner and brighter. I enjoy when the natural light comes in the windows and brightens up the space. I was asked recently how I keep my stainless refrigerator smudge free. I struggled keeping it clean until I found these wipes. They make all the difference!
My bathroom vanity is next! It is the same color as the original cabinets and way overdue for a refresh.
Let me know what questions you have and what your next project is!


#ad